Friday, February 21, 2020

the butler's pantry


Because in some ways it's an extension of the kitchen, I wanted to also show you the progress I've been making on our butler's pantry.

Having a butler's pantry, as wonderful as the idea would have been to me, was not even slightly a consideration when pursuing possible properties. However, stumbling upon a house that did have one felt like the luckiest of surprises.

For someone who spends a great deal of time in the kitchen and loves to entertain, a space to keep all the items for setting a pretty table, a charming old sink perfect for arranging flowers and lots of space to house pantry items was, well, probably the equivalent to a gorgeous walk in closet. But in my opinion, even better, because I'm constantly passing through it!

Now, before I show you it as it is right now, I feel like you need to see it before...


Here it is as of last October, post demolition. The door frame was tiny (just over five feet!), all of the beautiful beams were covered up. There was a great deal of duct work and plumbing running through it and the window needed to be re-supported as it wasn't structurally sound.


There's always a part of me that's sad I never got a chance to walk through it before, but at the same time, there's also a very tiny part of me that wonders if it's good that I didn't. What a difference.


We essentially stripped everything away. Plumbing and venting was all rerouted to be hidden neatly, and the ceiling was left exposed (but cleaned up). We raised the height of the doorway to the kitchen and added the transom to allow extra light into this space. There isn't much natural light as the only window is under our large covered back porch. Wonder of all wonders, one of the only things in the house (which was sitting vacant for a number of months), was this beautiful old cast iron farm sink.

Eventually, the butler's pantry will be finished with custom cabinets. The sink will be mounted slightly more to the left of the window, in an extra deep counter (thought it will still have an open bottom underneath it), with plenty of storage on the right side, right to the kitchen wall. And the opposite wall will have very tall built in cabinets that are on either side of the original chimney.

For now, we tweaked the sink as it was mounted (which meant we saved time and money just using what it was already in), and used an old cabinet I had as a sort of counter top beside it. That cabinet is currently holding all of my pantry type items (canned foods, baking ingredients, dried pasta and legumes etc...) I will add some open shelves on the opposite wall soon as that is where my ironstone collection will be displayed. The dish rack was from my mother in law. She had it in her kitchen for years and I always loved it. At our old home, I didn't have a space on our kitchen walls that it could fit it. I'm so glad that I stored it away though, because it's perfect here.


I decided I wanted to display a lot of my blue pieces in this space. It's still clean, and neutral, but I love the traditional feel. I will have a shade made for this window, hopefully in Lee Jofa's Hollyhock print in lemon and aqua (see below) It's probably one of my favourite prints.  I will keep the curtain for the bottom of the sink quite simple though, likely a natural linen, or very plain windowpane pattern, but maybe with some pleats to add a bit of character. 


In the spring, when the garden centers open again, I will add some more green in the form of a few pretty topiaries in some of my old terracotta pots. I also have an Audubon print in an old gilt frame to hang as well. I would also like to find an old sconce that holds a candle for on the walls by the door to the kitchen, and I have been waiting for an Etsy shop to return from vacation so I can order the prettiest cord pendant light.


The sink was so helpful while we waited for the stone to be placed on the island, and then the plumbing to be attached. It meant I only needed to wash dishes in a pail for one weekend!


The top of the dish rack made the perfect little impromptu wine rack.


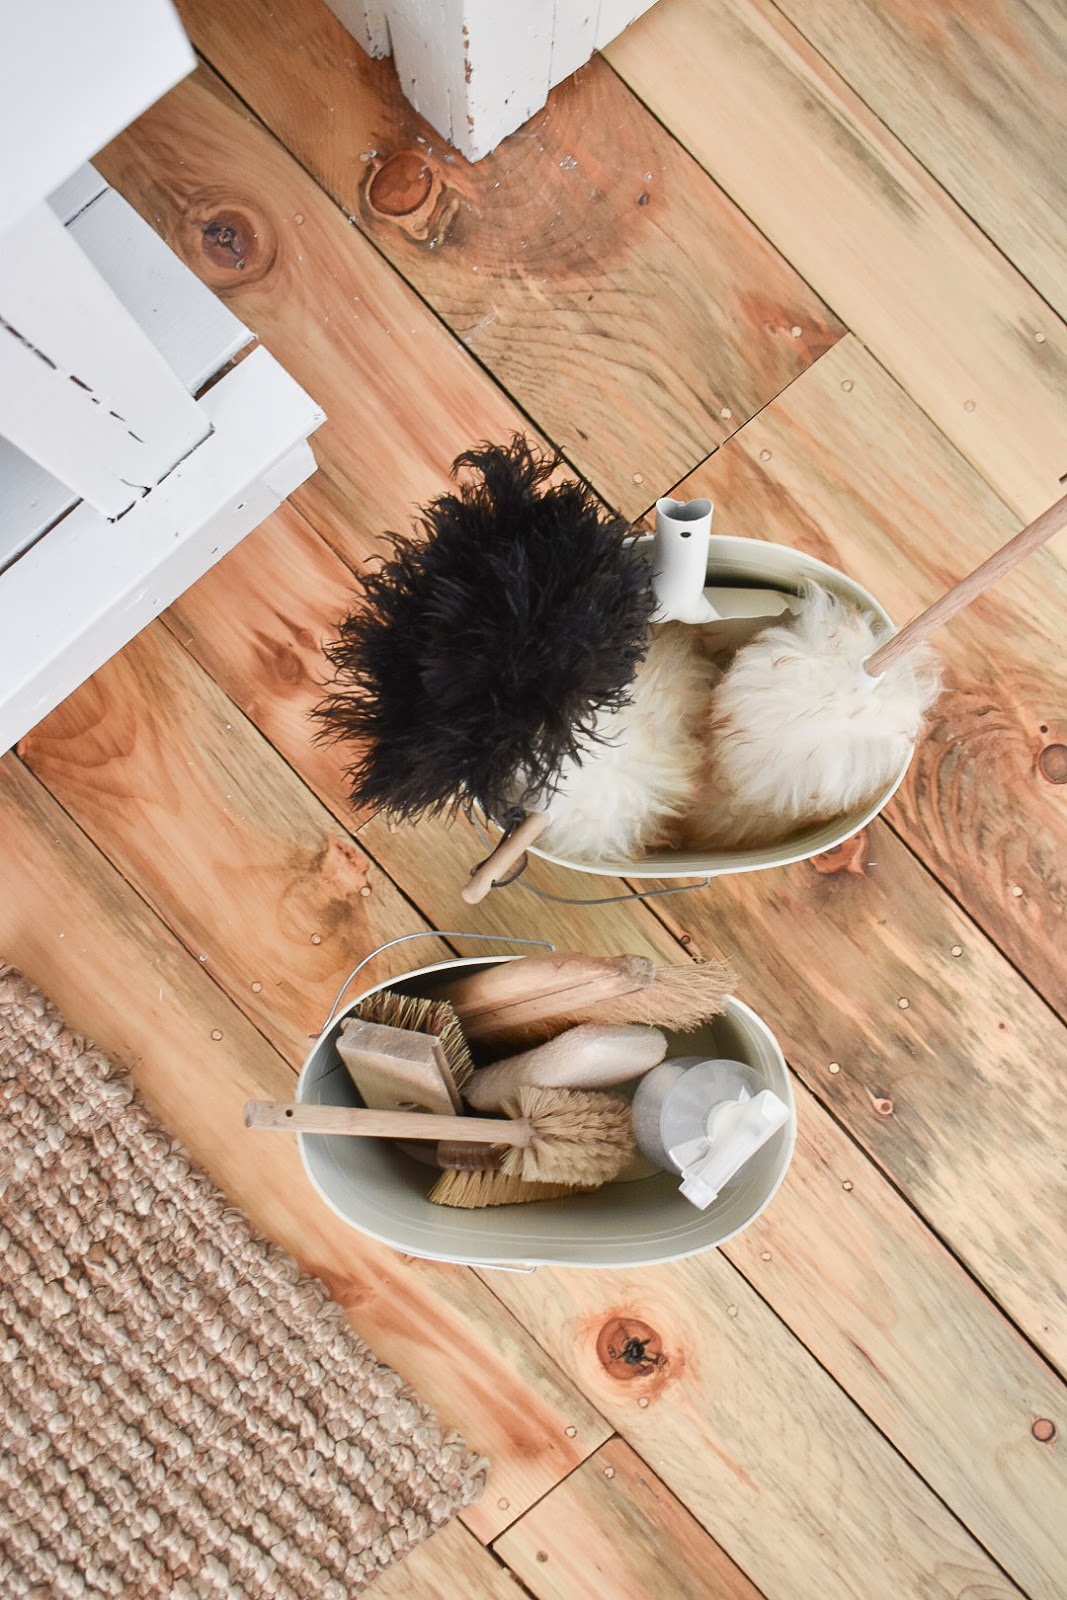
And the baskets are pretty, but also functional as they hold my napkins and a few sets of antique cutlery and napkin rings.


This is the opposite side. As much as I would have loved to expose the chimney brick, it had been covered in something and wasn't pretty, so it was easiest to just cover it all in and keep it clean. The two built ins will be narrow and very tall. One will be shelving on the top (the left side) so I can display my ironstone collection, and the other side will be closed in (to the right of the chimney). Those cabinet will be done in the same style and colour as the island. We absolutely love the exposed ceiling.

For now, three little bins are where I sort my paper and plastic.


The flooring is also slightly different from the rest of the house. We ran out of flooring and had to go with something kiln dried so we could install it right away. The man who did our floors happened to have this on hand, so we used this. When the cabinetry is in, and the runner is down, it will be a fairly small amount of flooring actually visible, but I do like the warmth of it.


The butler's pantry is between the kitchen (the doorway I'm standing in taking this photo) and the family room (beyond). In the family room we have a small formal dining area, so it's handy having things like my table linens and candles here.


I can't wait to get the curtain hung to cover up the sink, but for now, it's at least pretty to look at.

Thursday, February 20, 2020

the kitchen


As I write this, I can hardly believe I finally get to share this with you.

I can hardly believe that we're finally in our new (but wonderfully old) home, and that the first stage of our renovations are finally complete.

But most importantly, I can hardly believe that this is ours. That we envisioned this, and designed it, and saw it unfold into reality.


For little perspective, while it seemed to take forever, a mere four months ago, this was what my kitchen looked like.

The entire space (the whole house really) was stripped down. We then made some adjustments to the kitchen to help open the space up, most significantly removing the den above it and opening it up as a cathedral ceiling. We also raised low windows to accommodate counters in the future and two doorways that were like little hobbit doors, barely five feet high.


Doing all of that work required a lot of our budget, but we knew it was one of the best things we could invest in. One of the other significant costs in the kitchen renovation was a custom island. There was originally a large island, but poor plumbing, and then being left vacant, left the cabinetry and many of the floorboards rotten and moldy. Ryan and I designed this piece together and I couldn't be more pleased with how it turned out.


I wanted it to have a more traditional, English feel to it, with simple inset cabinets, a stone top, apron sink with mounted faucet, and pretty unlacquered brass hardware that would age perfectly over time. I will compile a list of sources at the end for those of you who have messaged requesting them.


I mentioned earlier that this is the first stage of the renovation. As I'm sure is the case with every major renovation, we were long past our deadline and over budget, or at least were required to make adjustments to our budget as unforseen issues arose. The amount of work required in the kitchen meant full custom cabinets were no longer an option. We will eventually finish them, but until then, we salvaged what we could of the originals and freshened them up with some paint and new hardware. We had also planned to have the majority of our pantry storage in our butler's pantry just off this kitchen, but that required custom cabinetry, and therefore was also put on hold. It's required a lot of creative storage solutions! It also left a few gaps in the layout, like between my fridge and range. I don't mind though. I am currently scouring our local antique shops for something to put here in the form of a storage cart or antique table. And honestly, once it's all complete, I don't think we'll end up changing it. I have a feeling I will like the feel of it so much more.


Whatever ends up beside the range will be where I store my cooking utensils and cutting boards, my seasonings and oils, probably in an assortment of crocks and old jars.


There will also be a custom hood above the range for a vent, likely from salvaged pine floor boards that were originally in the kitchen. 


Here you can see where we made the alterations structurally. The wood beam was added. At that point, everything to the left of it was three feet lower, so you can imagine how dark and closed in this side of the kitchen felt.

I'm also looking for an antique hutch top or cupboard to have as closed storage for everyday items like breakfast cereals and smaller baking items.


Opening it up (you can see the old beam still) made everything open and so bright! It changed everything, and I can't tell you how many times we've said we're so thankful we took the chance and made that huge change. That window up in the rafters is southern facing, so I have light all day long.


And the large picture window looks out to the river.


Stage two also includes installing the remaining fixtures, including sconces on either side of the table, and two pendant lights above the island. Also some sort of simple window treatment on the picture window and end chairs. And painting that little inside of the cabinet to the left by the plate rack.


The door to the back porch is the entrance we use daily. There is no storage at all, so we had to get a little creative. I will put some peg board to the right of the door above the boot tray.

Any idea where we store shoes for our family of six?


The end of the island is a shoe cabinet. It also hides duct work to allow for heating in this part of the house where previously, there was none.


I managed to fit all my everyday china in this cabinet - thankfully it's pretty to look at!


Beautiful hardware just adds so much charm. I also decided I wanted the island to be painted a colour to contrast the light top and add a bit more warmth to the space. In the end, I settled on Edgecomb Gray and it's exactly as I hoped it would be.


We used HanStone, a Canadian company, for our quartz stone counter top. It's called Tranquility. We went with quartz for the durability. We do have four boys after all!

Also, here you can see the entrance to the butler's pantry. This doorway was only five feet tall originally. We moved it to allow for better storage in the future and added a transom window (to come) to both add some much needed light, and to show off it's beautiful exposed ceiling.


The boys requested the island had stools, and four sons means four stools. So the entire other side of the island is pretty much seating. I haven't settled on stools yet, but have narrowed it down to a few styles. To balance out the shoe cabinet on the other end, we added small drawers. I think that the inset tow kicks and small feet details make it so beautiful.


Because we had to replace so much of the flooring, we decided to salvage what we could for other use, and replace the entire floor. We used local wide plank pine flooring in an assortment of widths (between 8" and 12"). We then finished them with a clear, matte oil-based finish, again for durability. In the photo above you can see the transition from the kitchen (top) to the living room (bottom).


I will share my inspiration for the kitchen soon, as well as my design plan for the remainder of it.

But at least I could finally get around to sharing the progress we're making!

SOURCES
Wall Paint Colour - Simply White by Benjamin Moore, Matte
Trim and Cabinet Colour - Simply White by Benjamin Moore, Eggshell
Island Paint Colour - Edgecomb Gray by Benjamin Moore
Countertop - Tranquility by HanStone
Sink - Charleston Farmhouse Sink by Gracie Oaks
Faucet - Heritage Standard Bridge Faucet by Kingston Brass
Cabinet Hardware - Rejuvination
Appliances - Home Depot (Whirlpool Fridge and Dishwasher, Kitchenaid Range)
Chandelier - Andover Mills